We are here to help! Call us at 1-800-622-2502 or send us a message.
We are here to help!
Client Central Home > Creative Services > Website Update Instructions
Website Update Instructions
Use these instructions to update your website built by MACC’s Creative Services Team.
Table of Contents
Logging-in
Go to https://yourwebsite/wp-admin (using Chrome or Edge…Explorer won’t work well)
Enter the following log-in information:
Username: Provided over the phone
Password: Provided via email
If you forget your password, you can use the Lost your password link or contact MACC’s Creative Services Team for assistance.

Getting to the Visual Editor
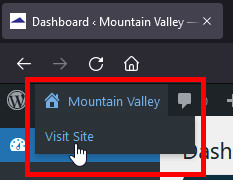
1. Mouse over your website in the upper left corner and then click visit site.
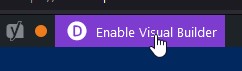
2. Then click on Enable Visual Builder…top center…of the page needing changes. You can use the website’s menu to navigate to the page.
Using the Visual Editor
1. The visual builder allows you to make most changes on the “front end” of the website.
2. To make changes, mouse over components and you’ll see a set of options pop-up, including a gear. In most cases, you’ll want the options in the grey box.

3. Clicking on the gear opens an editor that is very similar to Microsoft Word. You can use the green highlighted tools to make some style changes. Make sure the Visual tab is selected.

4. Once the changes are complete, click on the green checkmark at the bottom of the editor. To leave the editor without changes, click on the red x.
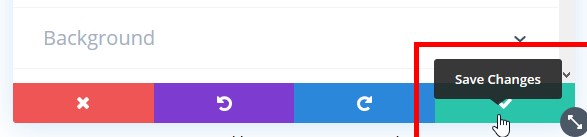
5. To finish, click on the purple circle at the bottom of the page and then click the green save button. Your changes are now saved. Choose Exit Visual Builder at the top of the page to leave the system.


Uploading PDFs
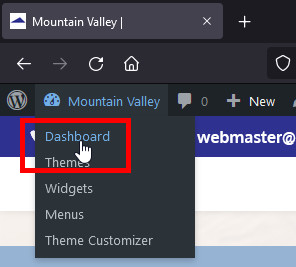
1. Click on Your Website > Dashboard
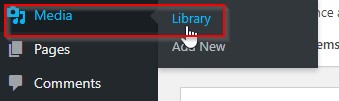
2. Then choose Media > Library from the left side of the Dashboard.
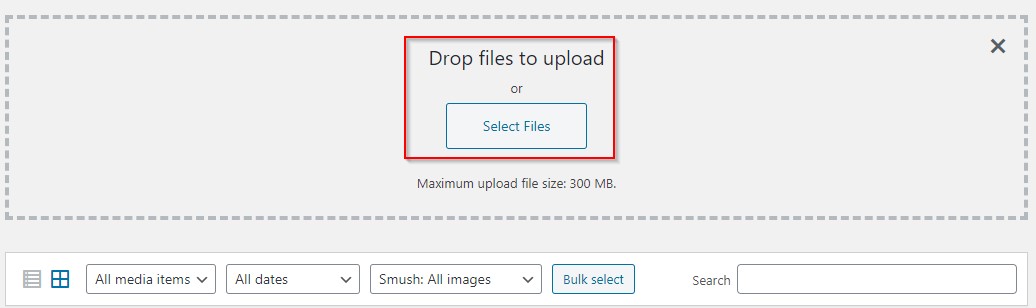
4. Drop or select your file.

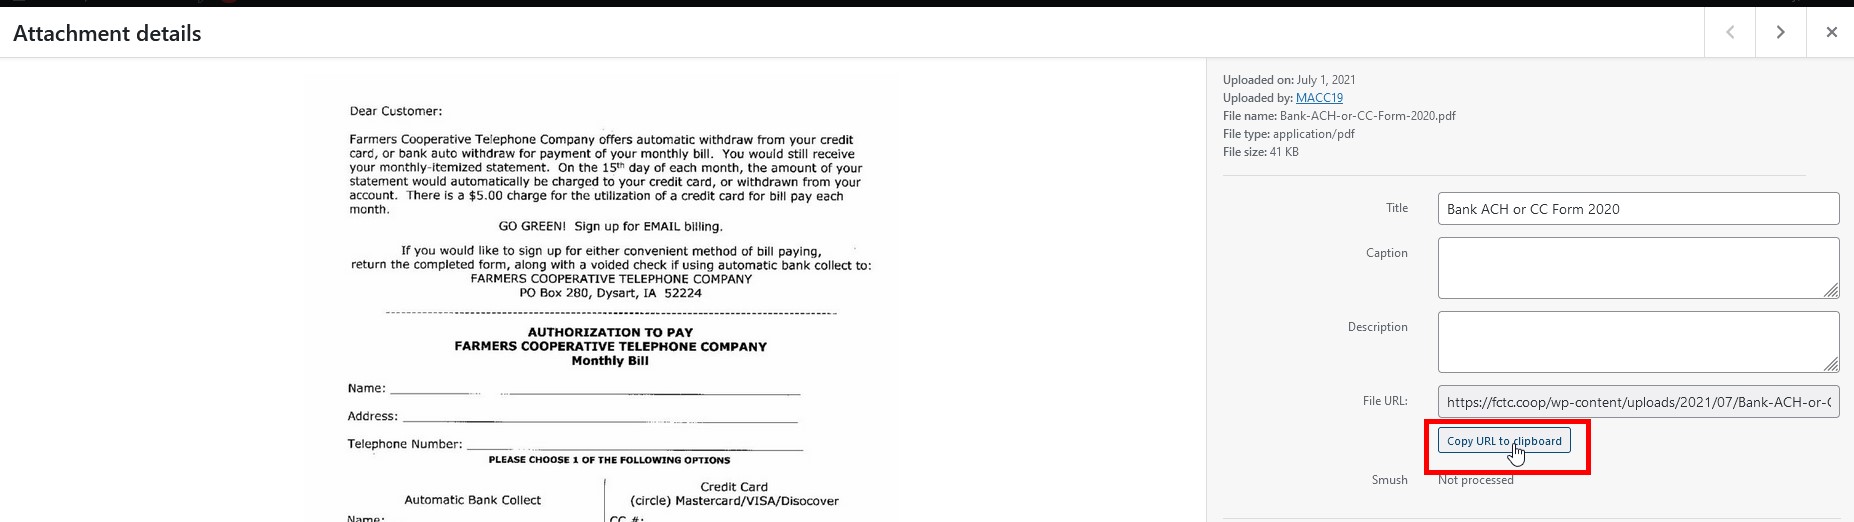
5. Once your file is uploaded, click on it and choose copy URL on the right side.
6. You will now have a copy of the PDF’s link for use on pages, with buttons, or on menus.
7. You can now “X” out of the Library.
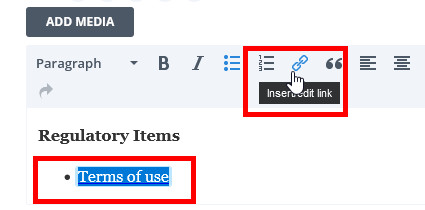
Updating Links within Pages
1. Follow the previous instructions until you have access to the grey gear of the text box containing the link.

Updating Links in Buttons
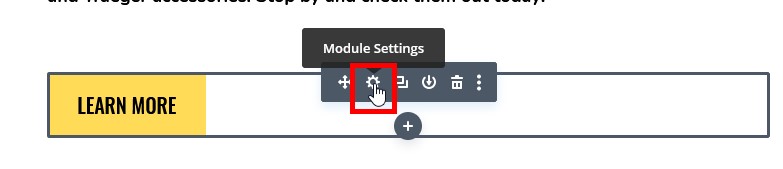
1. Go to the page with button that needs to be updated and open the Visual Builder.
2. Mouse over the button that needs a new link.
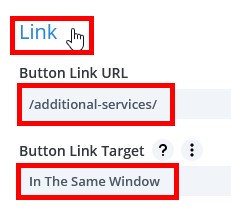
6. Once the changes have been made, click the green checkmark and save the page.
Adding Buttons
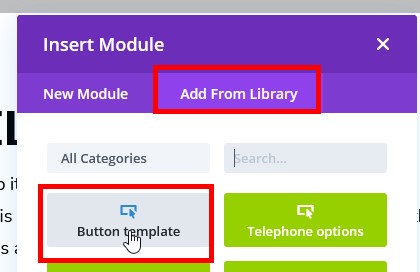
1. Go the page where you’d like to add a button, open the Visual Builder, mouse over the module near where you’d like to add the button, and click the plus sign.

3. A button will appear for you to edit.
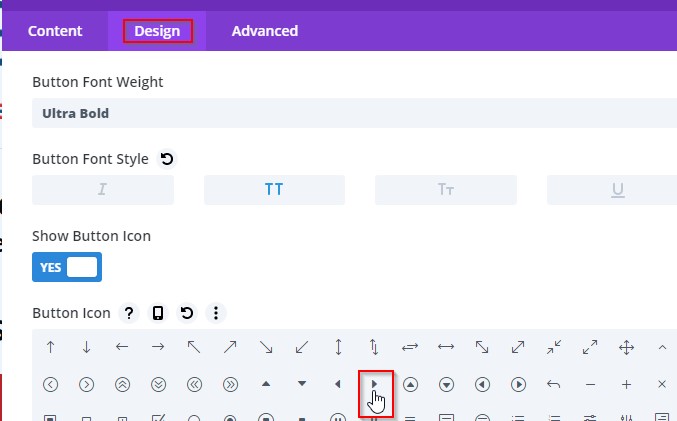
4. You can now use the instructions in the Updating Links in Buttons section to add a link or change the design if needed.
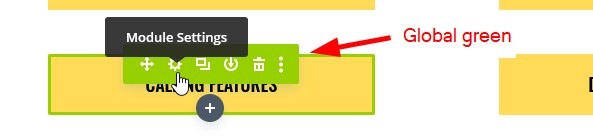
Working with global content
Your site may use global content for any text, links, code, etc. that needs to be displayed on multiple pages. When global content is changed on one page, the updates are automatically made site wide. Otherwise, editing content works the same as non-global content.
Working with the Image Module
Image Module – These are independent images within the site’s pages.
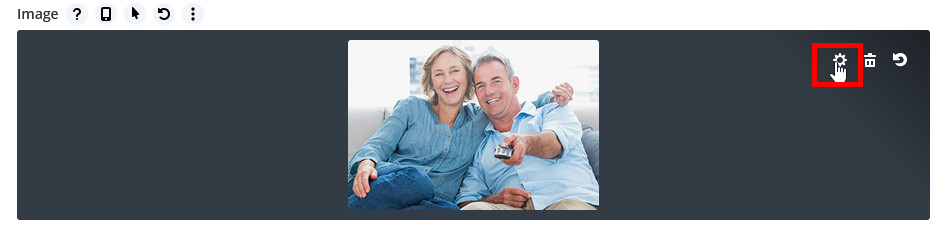
1. Open the page in the Visual Builder. Mouse over the image and click on the grey gear.
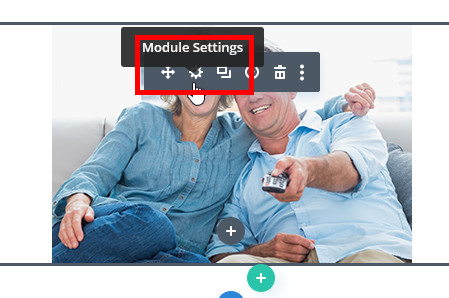
2. Now click on the gear again and you will have the opportunity to add a new picture.
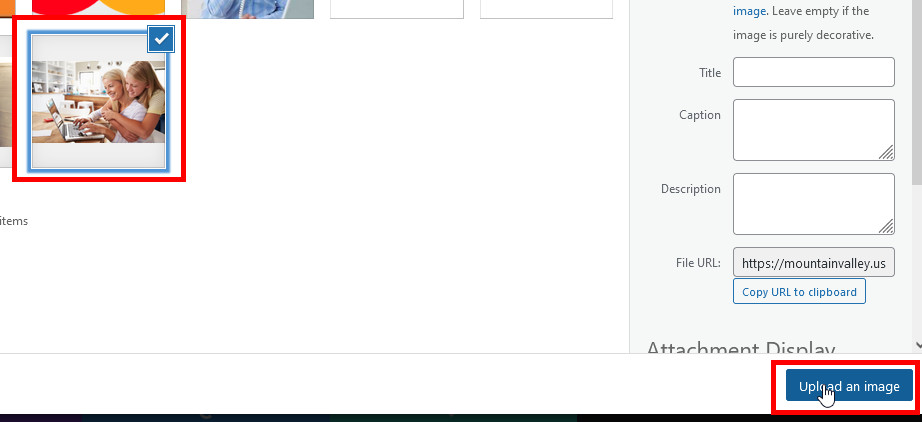
3. Click on an image in the Media Library or use the Upload Files tab to select a new image. Here is a link to common image sizes. Please set them to 300 dpi in jpg format so they look good on as many devices as possible. Once the image is selected. Choose Upload an image.
5. You can now Save the image by clicking on the green arrow and the save button in the bottom right.
Working with images in Text
Images can be added to text boxes as well.
1. Open text box in the visual builder.


4. The image will be added to the text box. You can now save and close the text module.

Adding a New Page
1. From any page, click on New and then select Page.

2. Give the page a name and then click on Use the Divi Builder.

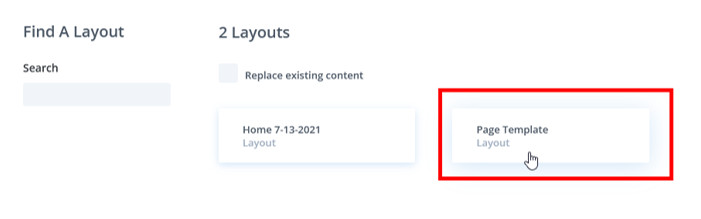
3. You will now see this screen. Choose Browse Layouts.

4. Choose Your Saved Layouts.

7. Once published, click on the view page to see the page and open the Visual Editor.
8. You can now edit and save the page using the instructions above.

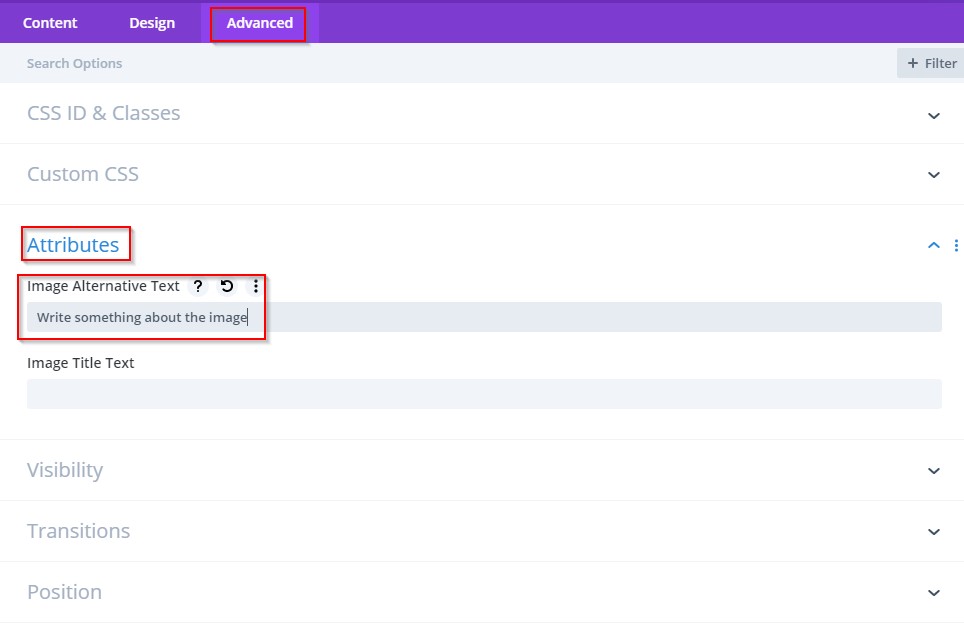
Adding SEO Information
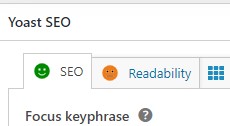
1. Search Engine Optimization (SEO) is important for your site. It’s part of what allows search engines to find your online home. For this reason, we added a plugin called Yoast SEO to your site. You can access it by clicking on the Yoast SEO triangle in the application’s box on each page’s back-end. Click on Edit to access the back-end.

2. You will then want to give the page a key phrase. You will need to scroll for a bit to find this information.

3. Then click Edit Snippet. This allows you to edit the focus key phrase (red), SEO title (green) and Meta description (yellow).

4. The goal is to get a Green rating by Yoast. You may need to adjust the Meta description to get this rating.
5. Once you’re happy with the SEO portion of the page, save the page.
Adding the New Page to the Menu
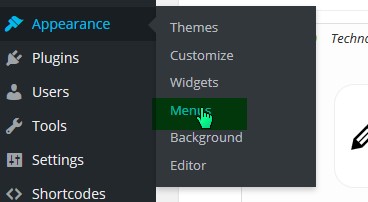
1. Once your new page is ready, click on Appearance > Menu on the left side of the screen from the Dashboard (site backend).
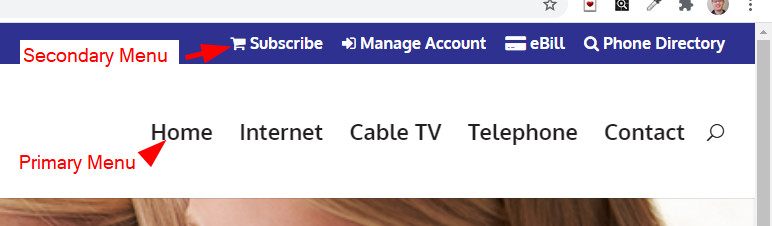
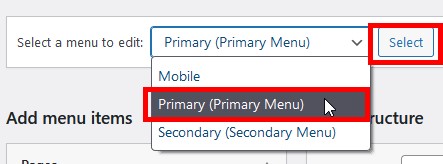
2. In the menus screen, you will need to select the appropriate menu: Primary or Secondary.
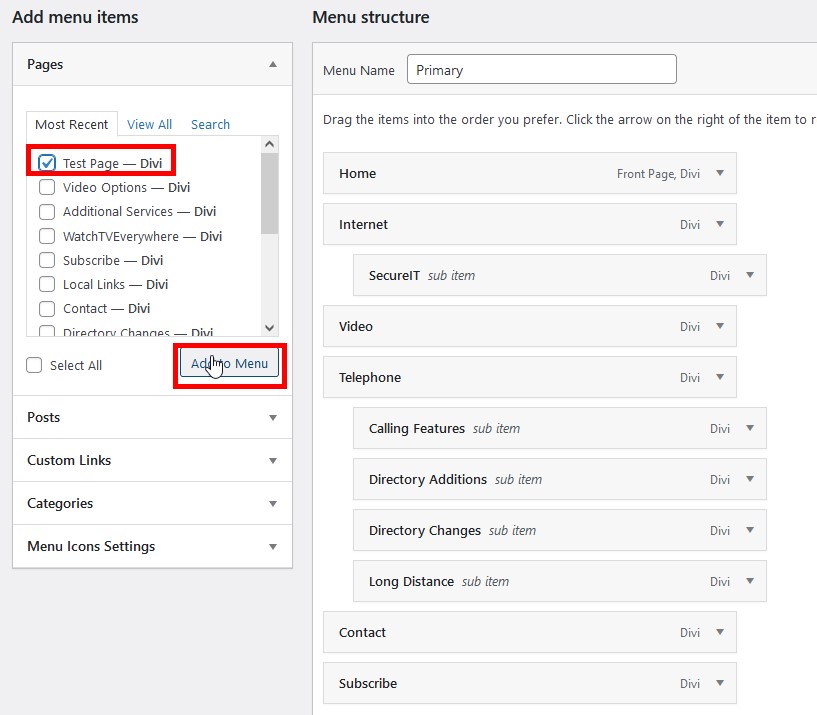
3. You can now add a new page to the menu using the highlighted tool on the left side of the screen. Put a check box in the desired page and then click Add to Menu. In this example, we’re using the Test page.
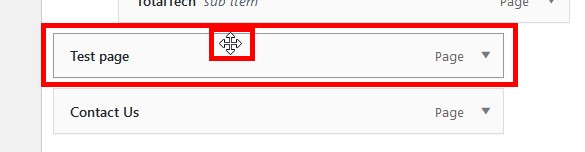
4. Once it is on the menu, you can click on the page and “drag” it to the appropriate location.
5. Dragging the page up places it further to the left on the menu. Placing it underneath other pages will make it appear that way on the menu itself.
6. Once you are satisfied with the menu, click on Save menu.
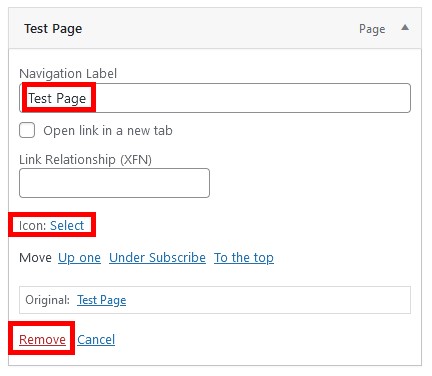
7. To remove a page from the menu, click on the triangle on the right side of the page. Then click on Remove.
8. You can also change the Navigation Label or add a menu icon by clicking on Select. This is what is actually displayed on the site’s menu in browsers.
9. Always save the menu after any changes.

Updating PDFs or custom links in the Menus
1. Follow the instructions above for accessing your site’s menus.
2. You will also need to get the link for the new PDF from the Media Library or have the PDF of the custom location copied.
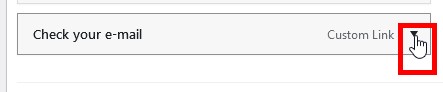
3. Once you have the link copied, click on the triangle of the menu item that needs to be updated.
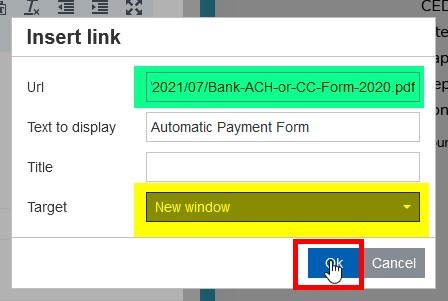
4. You will now see where you can paste a link into the URL field.
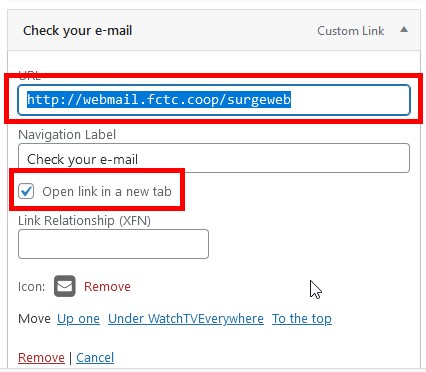
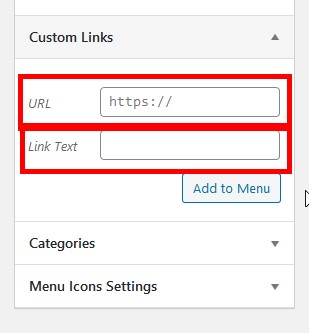
6. Need to add a new PDF to the menu? Follow the instructions above for adding pages, except choose Custom Links on the left side of the page. You will see where you can add the URL to the PDF (or other link) and Link Text, which is what will be displayed on the menu.
7. Once the URL and Link Text fields are filled, click Add to Menu. Place the item where needed and save the menu. It will now be live on the site.